Photo editing used to mean learning software like Photoshop or Lightroom. In 2026, you can get professional-looking edits just by typing a sentence into ChatGPT. But here’s the catch the quality of your result depends entirely on how well you write your prompt.
A vague prompt like “make this photo better” gives ChatGPT too much room to guess. A clear, specific prompt gives you control over the final result. This guide breaks down exactly how to write a ChatGPT prompt for photo editing, even if you’ve never done it before.
What Is a ChatGPT Prompt for Photo Editing?
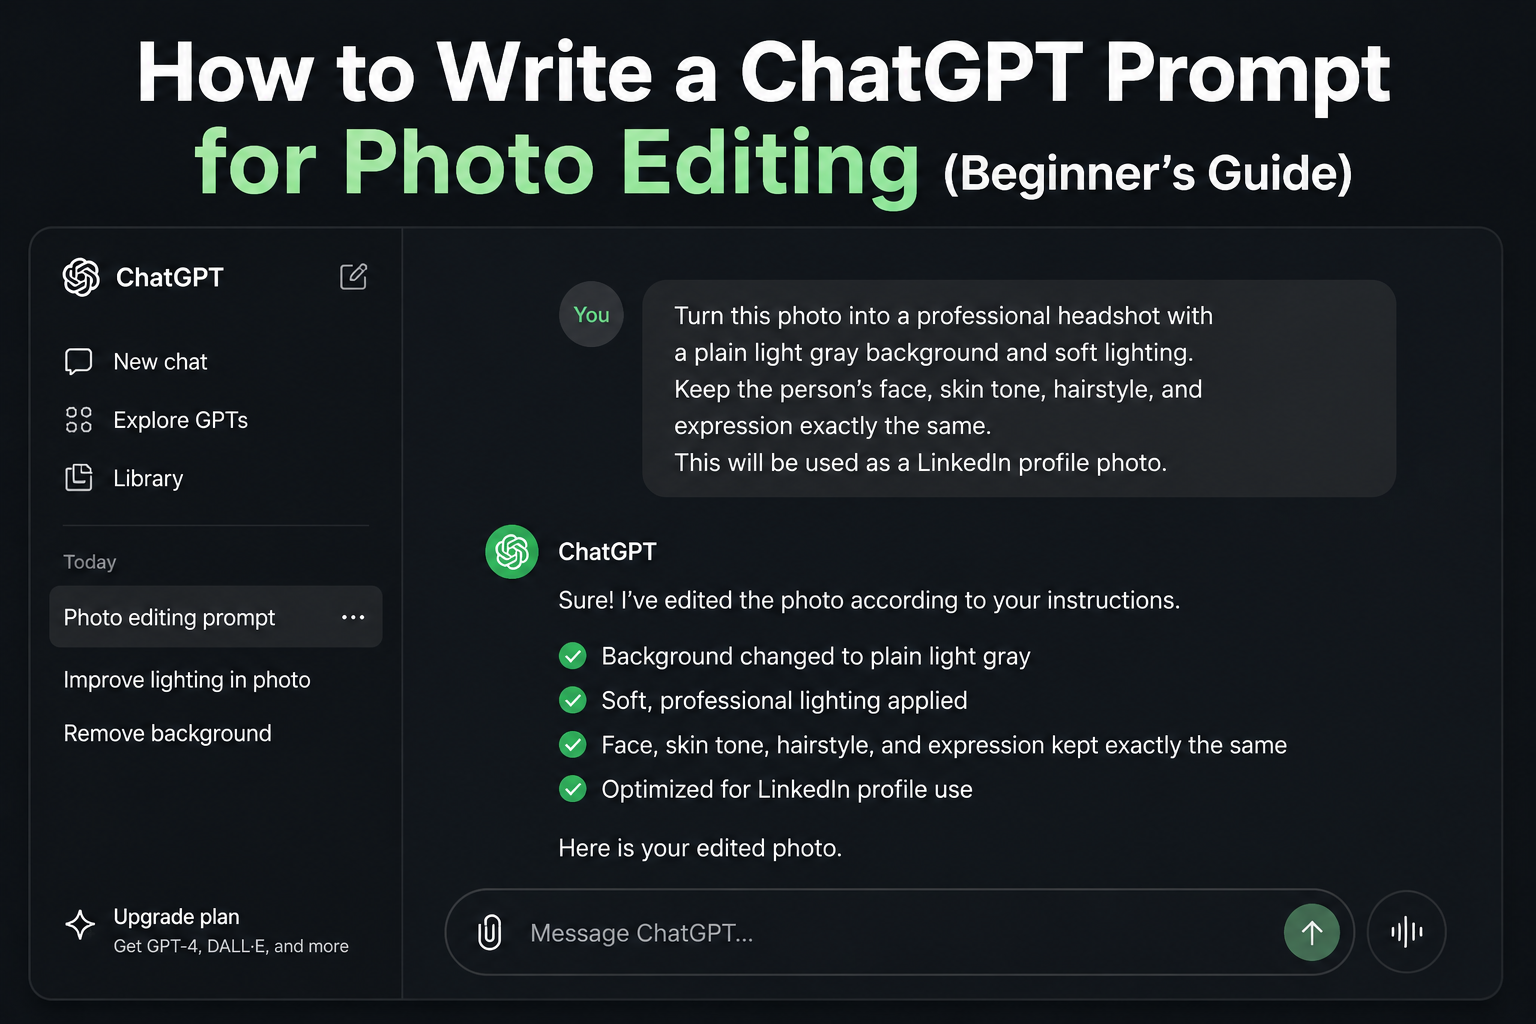
A ChatGPT prompt for photo editing is simply the instruction you type after uploading a photo, telling ChatGPT what to change and what to keep the same. ChatGPT then edits the image using its built-in image model, so you don’t need any separate design software.
You can use it to:
- Remove or add objects in a photo
- Swap backgrounds
- Apply color grading or filters
- Turn a selfie into a professional headshot
- Recreate vintage, cinematic, or artistic styles
The tool is powerful, but it only works as well as the instructions you give it.
Step 1: Upload a Clear Photo First
Before writing your prompt, make sure your source photo is usable:
- Use a static image file, PNG or JPEG work best
- Choose a photo with good lighting and a clear subject
- Avoid blurry or low-resolution images, since ChatGPT can’t fix what it can’t see clearly
- If a real person is in the photo, only use images you have permission to edit
A strong prompt cannot fix a weak photo. Start with good source material.
Step 2: Follow the Basic Prompt Formula
Most successful ChatGPT photo editing prompts follow a simple structure with three parts:
1. What to change: Describe the specific edit you want background, lighting, style, or object.
2. What to keep the same: Tell ChatGPT which details must stay untouched, like the person’s face, outfit, or pose.
3. The final use case: Mention where the photo will be used, Instagram, LinkedIn, print, or a website. This helps ChatGPT choose the right size, mood, and finish.
Here’s the formula in action:
“Turn this into a professional headshot with a plain warm-gray background and soft front-left lighting. Keep the exact face, skin tone, hairstyle, and expression unchanged. This will be used as a LinkedIn profile photo.”
Compare that to a weak prompt like “make this a professional headshot.” The first version gives ChatGPT clear boundaries. The second leaves too much to chance, and the result is unpredictable.
Step 3: Be Specific, Not Long
A common beginner mistake is writing overly long, complicated prompts. In reality, ChatGPT works best with one to three clear sentences. Length doesn’t equal quality, clarity does.
Instead of writing a paragraph describing every possible detail, focus on the two or three details that matter most:
- The main edit (background swap, color grade, style change)
- What must stay unchanged (usually the subject’s identity)
- The mood or finish you want (bright, moody, cinematic, natural)
Weak prompt: “Can you edit my photo to look nice and professional and maybe add some better lighting and change the background too if possible?”
Strong prompt: “Replace the background with a soft blurred office setting. Keep the person’s face and clothing exactly the same. Use warm, natural lighting.”
Step 4: Protect the Details That Matter
If you’re editing a photo of a real person, identity protection is one of the most important parts of your prompt. AI image tools can unintentionally change facial features, skin tone, or expressions if you don’t specify otherwise.
Always include a line like:
- “Keep the face, skin tone, and hairstyle exactly as they are.”
- “Do not alter facial structure or expression.”
This single instruction prevents most of the common issues people run into, like a face that looks slightly “off” after editing.
Step 5: Use the Right Tool for Local Edits
For edits that apply to the entire photo, like a color grade, a vintage film look, or a full style change, you can simply type your prompt after uploading the image.
But for local edits, removing a specific object, retouching one area, or swapping just the background, it’s better to use ChatGPT’s built-in image editor:
- Upload your photo using the attachment option in the chat box
- Open the image editor by clicking on the uploaded photo
- Use the brush/select tool to highlight the exact area you want to change
- Type your prompt describing only that specific change
This gives ChatGPT a precise area to work with, instead of guessing which part of the photo you mean.
Step 6: Check Your Result Before You Trust It
AI-edited photos can look perfect at a glance but reveal small errors when you zoom in especially around faces, text, and logos. Before downloading or sharing your edited photo:
- Zoom in on the face to check for unnatural blending
- Check any text or logos in the image for accuracy
- Compare the edit against your original to confirm nothing important changed
If something looks off, don’t start over completely. Instead, refine your prompt. Point out exactly what needs fixing:
“Keep everything the same, but fix the lighting on the left side of the face it looks too harsh.”
This kind of follow-up prompt is often faster than writing a brand-new one.
Common Mistakes to Avoid
- Being too vague: “Make it look better” doesn’t tell ChatGPT what “better” means to you.
- Forgetting to protect identity: Always specify what should stay unchanged.
- Skipping the use case: A photo for print needs different treatment than one for Instagram.
- Not zooming in: Small errors are easy to miss at thumbnail size.
- Using low-quality source photos: Editing can’t replace missing detail in a blurry image.
Quick Prompt Template You Can Reuse
Save this template and fill in the blanks for any photo edit:
“Change [specific detail] to [desired result]. Keep [details to preserve] exactly the same. This photo will be used for [platform or purpose].”
For example:
“Change the background to a clean, minimal white studio setup. Keep the person’s face, outfit, and pose exactly the same. This photo will be used for an ecommerce product listing.”
This template works for headshots, product photos, social media posts, and creative edits alike.
Final Thoughts
Writing a good ChatGPT prompt for photo editing isn’t about complicated language it’s about clarity. State what should change, what should stay the same, and where the photo will be used. Keep your prompts short, specific, and focused on one clear outcome at a time. Once you get comfortable with this structure, you’ll be able to edit photos faster than traditional software, without sacrificing quality or control.